Stop Motion
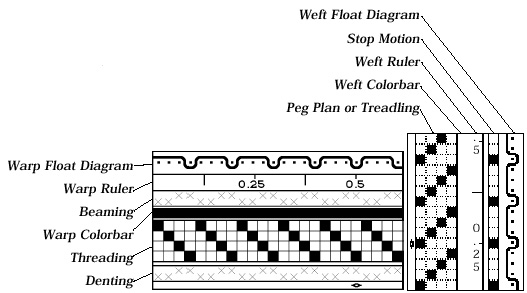
If you are designing for a loom that provides stop motion control, you can indicate that you want to trigger the loom’s stop motion on a particular pick by blackening the square next to that pick in the stop motion grid (see illustration above).
The effect of setting stop motion depends upon the design of the loom. In general, what “stops” in “stop motion” is the advance of the fabric. Normal weaving and beating goes on as usual, but since the fabric isn’t advancing, the fill (weft threads) gets packed more tightly at this point in the fabric, which creates a distinctive texture at that point. Or, if colors are chosen appropriately, the extra threads can create a visual effect on the surface of the fabric.
The stop motion grid is printed out alongside the peg plan.
Show Cursor Position
This controls the display of the
cursor position when the cursor
is positioned over one of the
grids in the Design window. The
display occurs in the Tools
window.
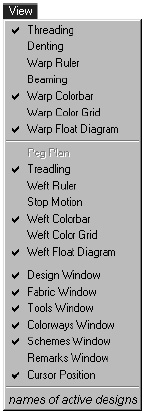
Active Window Names
The names of all active (open)
designs and palettes appear at
the bottom of the Windows
menu. The one with the
checkmark is the frontmost
design, the one you are presumably
editing. Clicking on an
unchecked design name causes
its windows to come to the front.