|
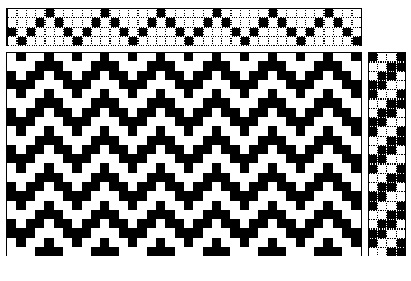
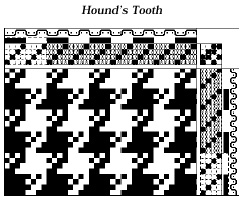
Each of the repeat block types offered
by WeaveMaker is used here to
construct a familiar fabric. The
discussion emphasizes blocks in the
threading, but the same technique
works in the peg plan or treadling as
well (repeat blocks are not used in
the tie-up).
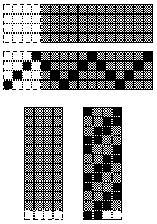
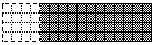
There are seven kinds of
blocks which differ in how
they copy to the right and
left.
The next three sections
illustrate the basic operation
of each type of repeat.
Each repeat is represented
by a small icon
which reminds you of how
that particular block style
does its repeats. The
small “backwards L” figure in
the icons helps illustrate how
the repeats work.
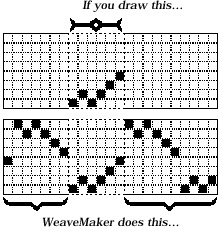
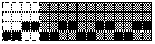
For example, in the first icon
each of the three L’s is in the
same orientation, suggesting a
repeat in which each block is an
exact copy of its neighbor
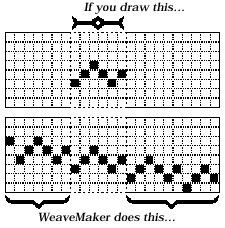
(straight repeat). The second
icon (the  figure) shows a
repeat in which successive
copies of the block are flipped
right to left (horizontal mirror). figure) shows a
repeat in which successive
copies of the block are flipped
right to left (horizontal mirror).
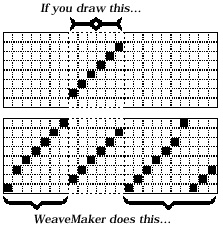
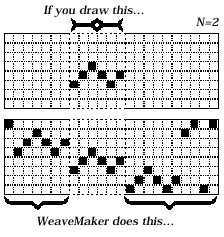
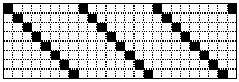
The third type of repeat flips
successive images top to bottom
(vertical mirror). The last four
types of repeats (the ones with
the arrows) shift each repeat by
one or more threads up or down
(drifts).
|


 repeat. The
screen now looks like this:
repeat. The
screen now looks like this:

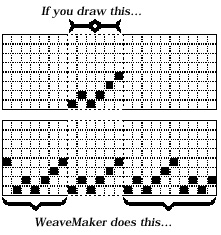
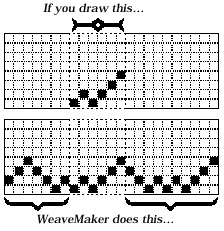
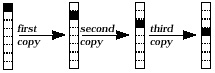
 ), which shifts
the squares down by one grid
position in each copy made to
the right (the shift is upwards
in copies made to the left). So
the sequence of copies looks
like this:
), which shifts
the squares down by one grid
position in each copy made to
the right (the shift is upwards
in copies made to the left). So
the sequence of copies looks
like this:

 ), set up this block:

 ), while the peg plan
is very easily done with the
), while the peg plan
is very easily done with the  tool, as illustrated immediately
below.
tool, as illustrated immediately
below.